How to Wrap an Office: Wall Graphics Installation

Interesting wall graphic
Wall graphics. When installed correctly, the finished product can be inspiring, turning an otherwise mundane wall into an attractive, colourful, and memorable display. But how does it all happen? To better understand the installation process, read on and we’ll take you through the steps.

The following images were installed in the offices of Navarik, a software and data services provider for the commodity trading industry. Designed by the talented folks at Sprout Creative, this collection of wall graphics features a spectacular series of city skylines representing London, Singapore, New York, and Vancouver.
Wall mural show Statue of Liberty
The tools and methods utilized during installation are relatively straightforward. The installation techniques however require thorough planning and the expertise of an experienced professional.

The Media

Applying heat to vinyl during installation
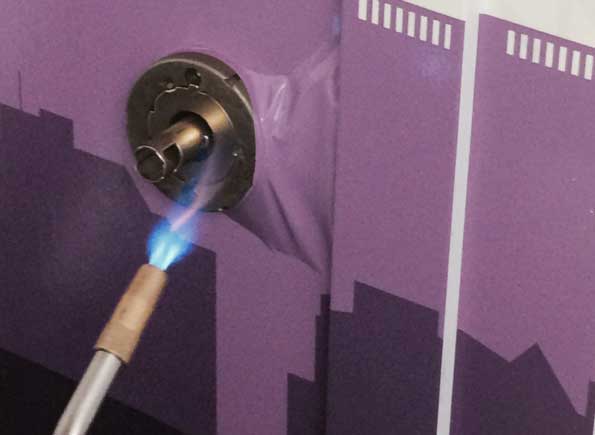
The media used for this project was adhesive cast vinyl, with gloss laminate for extra durability and protection. This material is extremely malleable when exposed to heat and can be shrunk or stretched depending on the project demands.

Installation

Before any vinyl is applied, the installation team does a quick audit of each wall. They ensure the wall has been prepared properly (painted or primed at least 7 days prior, no dust, free of debris, etc…) and review any potential areas of concern.

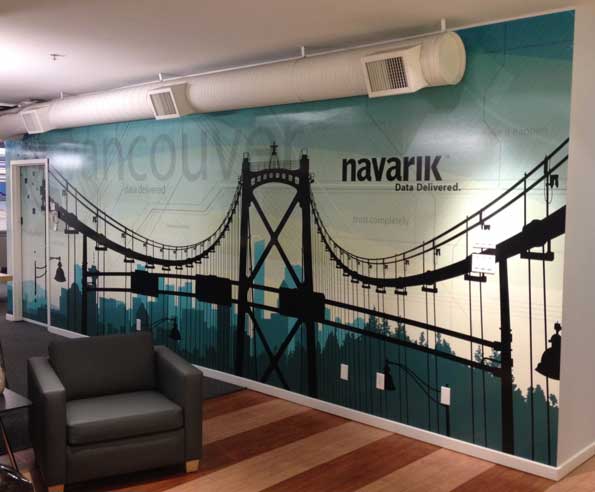
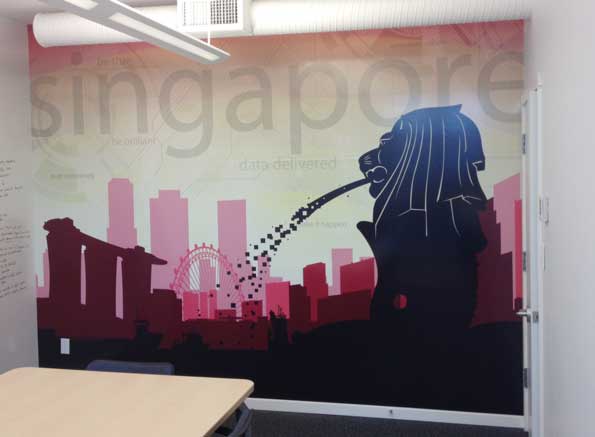
Each wall requires of a series of panels to complete the whole picture.

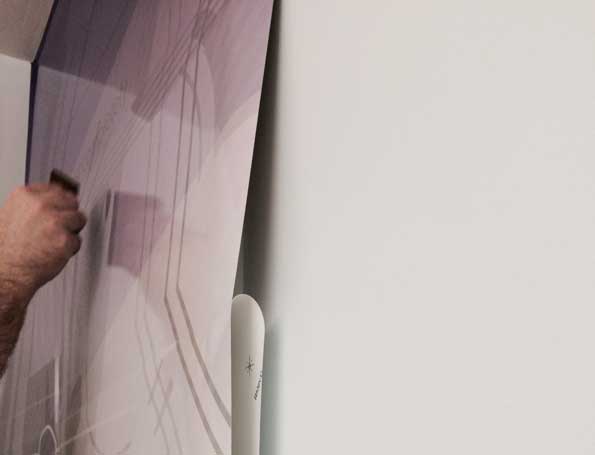
Beginning on one end of the wall, the team starts by unrolling the first panel of vinyl, placing it against the wall and taping into position. Once everything is lined up properly, the paper backing on the vinyl is pulled down from the top a few feet at a time. The exposed adhesive side of the vinyl is carefully applied to the wall, using pressure from a squeegee. This process (peel backing, smooth out) is repeated until the panel is completely installed.
Installing vinyl wall graphic with a squeegee
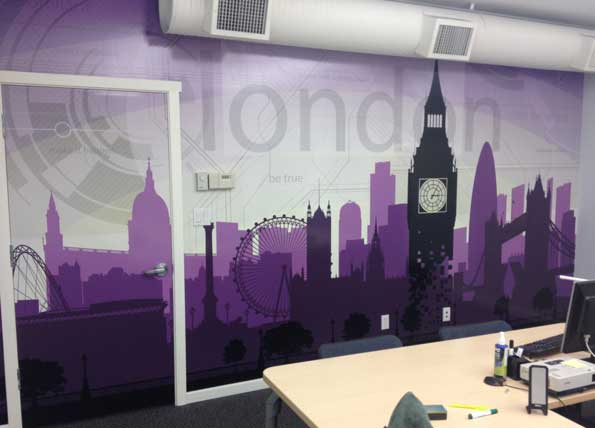
The process is repeated for the balance of the panels ensuring the pattern on each panel lines up perfectly.

Excess material is printed to allow for an overlap at the seams, somewhere from 1/2″ to 1″.

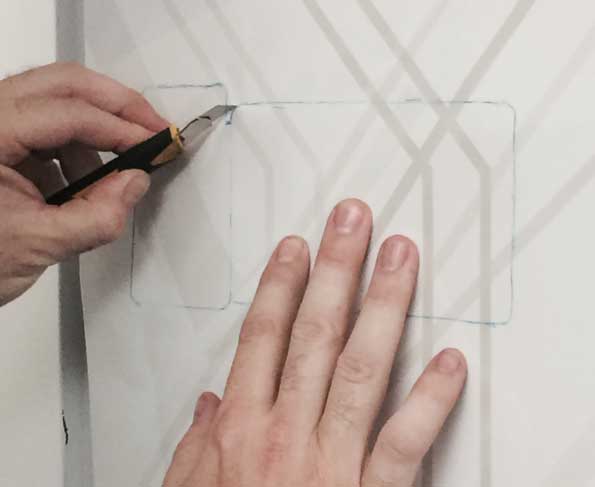
Installation is more demanding when encountering switches, door knobs, etc. Trimming or distorting the vinyl with heat generally provides only one opportunity for success. This is where the skill and experience of the installation team is most important. 
Cutting vinyl to the perfect shape
Singapore wall graphic art
Wall mural of London
Are you looking for an office makeover? Walls, windows and other interior elements provide great possibilities to dramatically change office environments.

Get in Touch

Have a project to quote? Get in touch with a Hemlock Display print specialist. We’re here to help! 

Get in Touch

Have a project to quote? Get in touch with a Hemlock Display print specialist. We’re here to help!