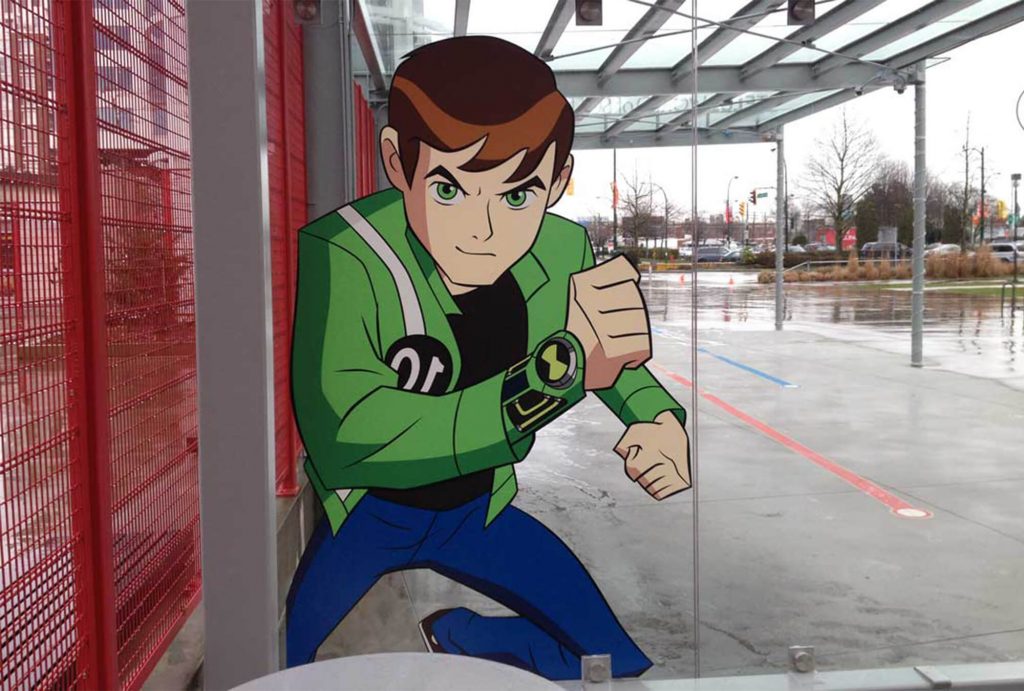
The term ‘window graphics’ can refer to many different things: posters, cut vinyl, etchmark film… any type of graphic that’s applied to a window. In this article we will be talking about how to install window decals.
Window decals are a great, inexpensive way to get your message in front of potential customers. They can be re-positioned and leave little-to-no residue when removed making them a preferred option for many retail stores, businesses, restaurants and schools.
Window decals can be either standard or subsurface, also sometimes called ‘second surface’. ‘Subsurface’ means that the adhesive is on the viewing side of the decal, so if you want it to be viewed from outside, you would apply the decal to the inside of the window. This has the advantage of keeping the decals inside your store and safe from potential vandalism and theft.
That said, it has the disadvantage of making any air bubbles or wrinkles very obvious, so installation technique is crucial for a good result. If you’ve ever tried to apply a screen protector to your smartphone, you know exactly what we’re talking about.
DISCLAIMER: This steps below are instructions on how to install window decals using a ‘wet application’ technique. This method will work for just about any type of adhesive graphics, except water soluble adhesives. Check with your printer to make sure your decal is compatible with wet application before you start!
7 easy-to-follow steps for installing a window decal:
1. Clean the Surface Area
For best results, thoroughly wipe down the surface area using glass cleaner to ensure there aren’t any bumps or debris that will get trapped under your window graphic.Do not use an ammonia-based cleaning product! It can off-gas and cause bubbles under your graphic.
If you don’t clean the surface area, you risk air bubbles and even creating holes in your graphic later on.
2. Make Some Application Fluid
To apply your graphic using the wet method, you’ll need application fluid (aka soapy water). It can be made by simply adding a drop or two of dish soap into a spray bottle with about a 750ml to 1L of water. Don’t overdo the soap, you really only need a drop!The soapy water prevents the graphic’s adhesive from sticking, making it easy to squeegee down without trapping air underneath or wrinkling.
This would also be a good time to find something to use as a squeegee. A credit card or piece of stiff cardstock will work, or you can purchase the real deal at your local hardware store.
3. Position and Tape
Once you’re confident the surface area is clean of any debris, tack the top of your graphic in place with a piece of masking or painters tape. Take a few steps back and look at your graphic from a distance to make sure it’s in the correct location, or have someone else stand back and give you direction. If you want to be really professional about it, use a tape measure and a level. If this is a subsurface decal, make sure you’ve got it the right way up.When you’re happy with your graphic’s position, cut a wide piece of tape the same length as the graphic and place it at the top of the graphic so half is sticking to the top of your graphic and half on the window itself. You want the graphic to be able to hinge by lifting the bottom while keeping the graphic in place at the top.
4. Remove the Liner
Lift the graphic from the bottom and remove the protective plastic/paper from the back of the graphic. Do not allow the adhesive to touch the window and try not to touch the sticky side with your hands!5. Apply from the Top Down
With the graphic lifted and the protective layer removed, lightly spray the surface of the window and the adhesive side of the graphic with the application fluid you made earlier and slowly lower the graphic over the freshly-sprayed surface from the top down, allowing the decal to float on the layer of soapy water.6. Squeegee from the Centre Outwards
Use your squeegee to force out the water under the graphic. Start from the centre and move outwards while applying firm pressure. By now your graphic should be looking pretty good. It should be stuck in position without any wrinkles or air bubbles.7. Remove your Tape
When you’re satisfied that all of the wrinkles or bubbles have been removed, you can remove your tape. Peel it from the graphic outwards – you don’t want it to pull your decal off the glass. If this starts happening, you may want to either wait a bit longer for the adhesive to bond with the glass, or spray down your tape with water to get it to release a bit easier.That’s it! Now stand back and enjoy your hard work!
Have an idea for a window graphic you’d like to see brought to life? Contact us today to get started on your next project!
Get in Touch
Have a project to quote? Get in touch with a Hemlock Display print specialist. We’re here to help!
