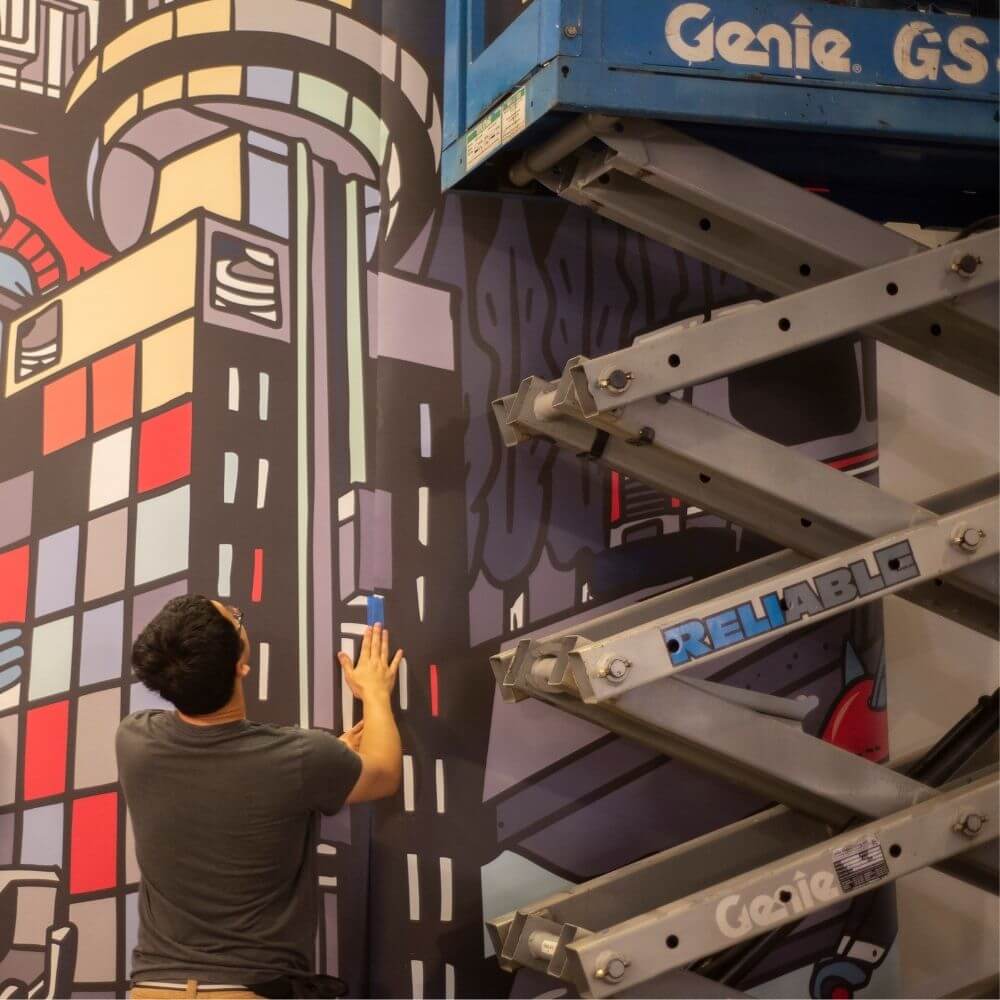
There are a wide range of factors that can affect the timing, cost, quality, and overall success of graphic installations. This article focuses on the critical aspects of proper measurement and surface preparation protocols.
Measurements
One of the first tasks of any installation project is to take proper measurements.
Accurate measurements are critical when the graphics need to cover the full expanse of a surface. When installing a wall mural, for instance, it’s important to account for the extra length or bleed required on all sides. This extra material gives installers the necessary wiggle room to properly execute the installation.
It also compensates for any irregularities in the wall that may lead to marginally different dimensions that may be found from one side to the other (most walls aren’t 100% symmetric).
You may also need to account for additional wall features and fixtures: ducts, bulkheads, plugs, light switches and other variations or obstacles that can affect both the production and installation of your project.
Surface Preparation
Window Graphics
Windows that are considered installation ready are clean, dry, and free of debris/surface contaminants.

Dust particles are a common (often undetected) contaminate on many windows. Construction and renovation sites tend to generate lots of dust; extra care should be taken to ensure windows in these areas are properly cleaned.
Any imperfections on window surfaces may lead to unsightly air bubbles, so be sure to double check the integrity of your glass before moving ahead with graphic installation.
Wall Graphics
Like windows, properly prepared walls are clean, dry, and free of surface contaminants or imperfections. This is more of a concern with wall graphics, as drywall is more prone to dents and damage than glass.
Recommended steps for prepping new or bare drywall for graphic installation include:
- Filling any holes or imperfections
- Sanding lightly (until smooth) and prime/paint
- Inspecting the surface to ensure there are no imperfections (more sanding if necessary)
- Wiping down the surface with a soft cloth
- Wait at least 7 days* for paint to cure
*Curing times may vary across paint brands; best to double-check before graphic application. Paint should also be free of VOC’s (Volatile Organic Compounds) and silicone.
Professionals Pay for Themselves
Recall the famous words: “If you think it’s expensive to hire a professional, wait until you hire an amateur” and be sure to ask your print provider for the appropriate guidance and support.
If you have any questions about graphics installations or other large format print materials, reach out to your PrismTech Account Manager or contact us for more information.
Coming soon: Graphic Installation Part 2 (Site Conditions & Regulations)
Get in Touch
Have a project to quote? Get in touch with a Hemlock Display print specialist. We’re here to help!
